Add storage to PlayStation 5 & Xbox Series X (step-by-step guide)
That 1TB didn't last long, did it? Here's how to add storage to PlayStation 5 (in 12 steps) and Xbox Series X | S (in four).

1TB sounded like an insane amount of storage for a new games console. Until you remembered that most AAA games weigh in over 100GB each these days. And don’t even get me started on the logic of having a digital only console like the Xbox Series S having only 512GB on onboard storage.
If you find yourself butting heads with the “storage full” error on your Xbox Series X, Series S, or PlayStation 5, here’s a handy, step by step guide on how you can double (and then some) your available storage.
Add storage to PlayStation 5
Sony has recently updated the PlayStation 5’s firmware to allow you to install an M.2 SSD into the expansion slot on the console and use it to increase your storage.
What you’ll need
- A flat surface in a well-lit room (or a torch, or both, but you’ll need good light because this thing can be a little fiddly)
- A PS5 that is up to date on software updates (check first)
- A small, grounded, metal object you can touch before you begin to get rid of any static electricity (particularly if you wear a lot of corduroy)
- A size 1 Philips Head screwdriver (a really small one, like a jewellery screwdriver)
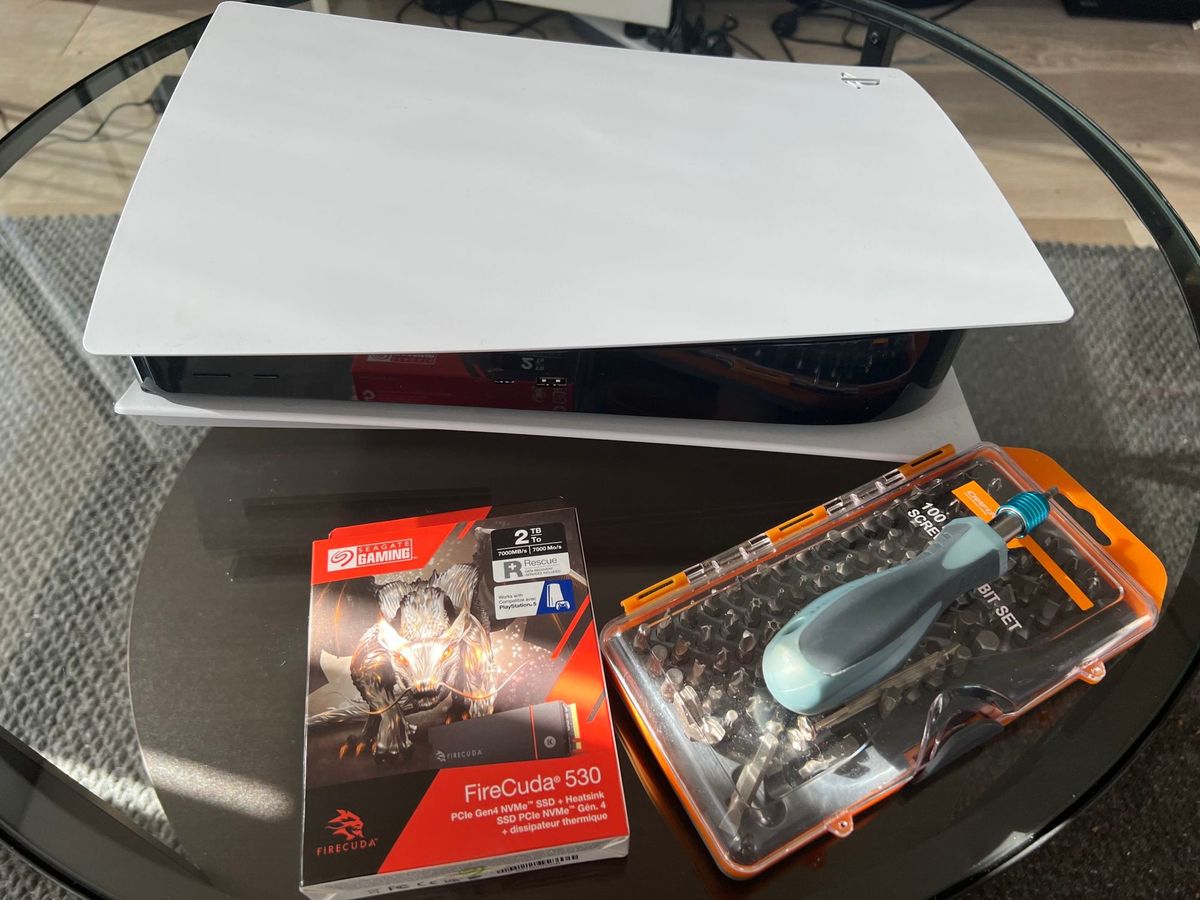
- An M.2 SSD with a heatsink or other “effective heat dissipation with a cooling structure” (if you're thinking “what else could that possibly be other than a heatsink?”, just buy an M.2 SSD with a heatsink attached). The SSD will need these specs, according to the PlayStation website:
| Interface | PCI-Express Gen4x4 supported M.2 NVMe SSD (Key M) |
| Storage | 250 GB–4 TB |
| Supported sizes | 2230, 2242, 2260, 2280, 22110 |
| Size including heat-dissipation mechanism | Width: up to 25 mm Length: 30/40/60/80/110 mm Thickness: up to 11.25 mm (up to 8.0 mm from above the board, up to 2.45 mm from below the board) |
| Sequential read speed | 5500 MB/s or faster is recommended |
| Socket type | Socket 3 (Key M) |
Once you have all that stuff together, then the fun can begin.
Step One
Turn off the PS5, then unplug everything from the back of your PS5 and move it to a flat (preferably dust-free) surface. Then, touch your small, grounded metal object while you wait for the PS5 to cool down.
Step Two
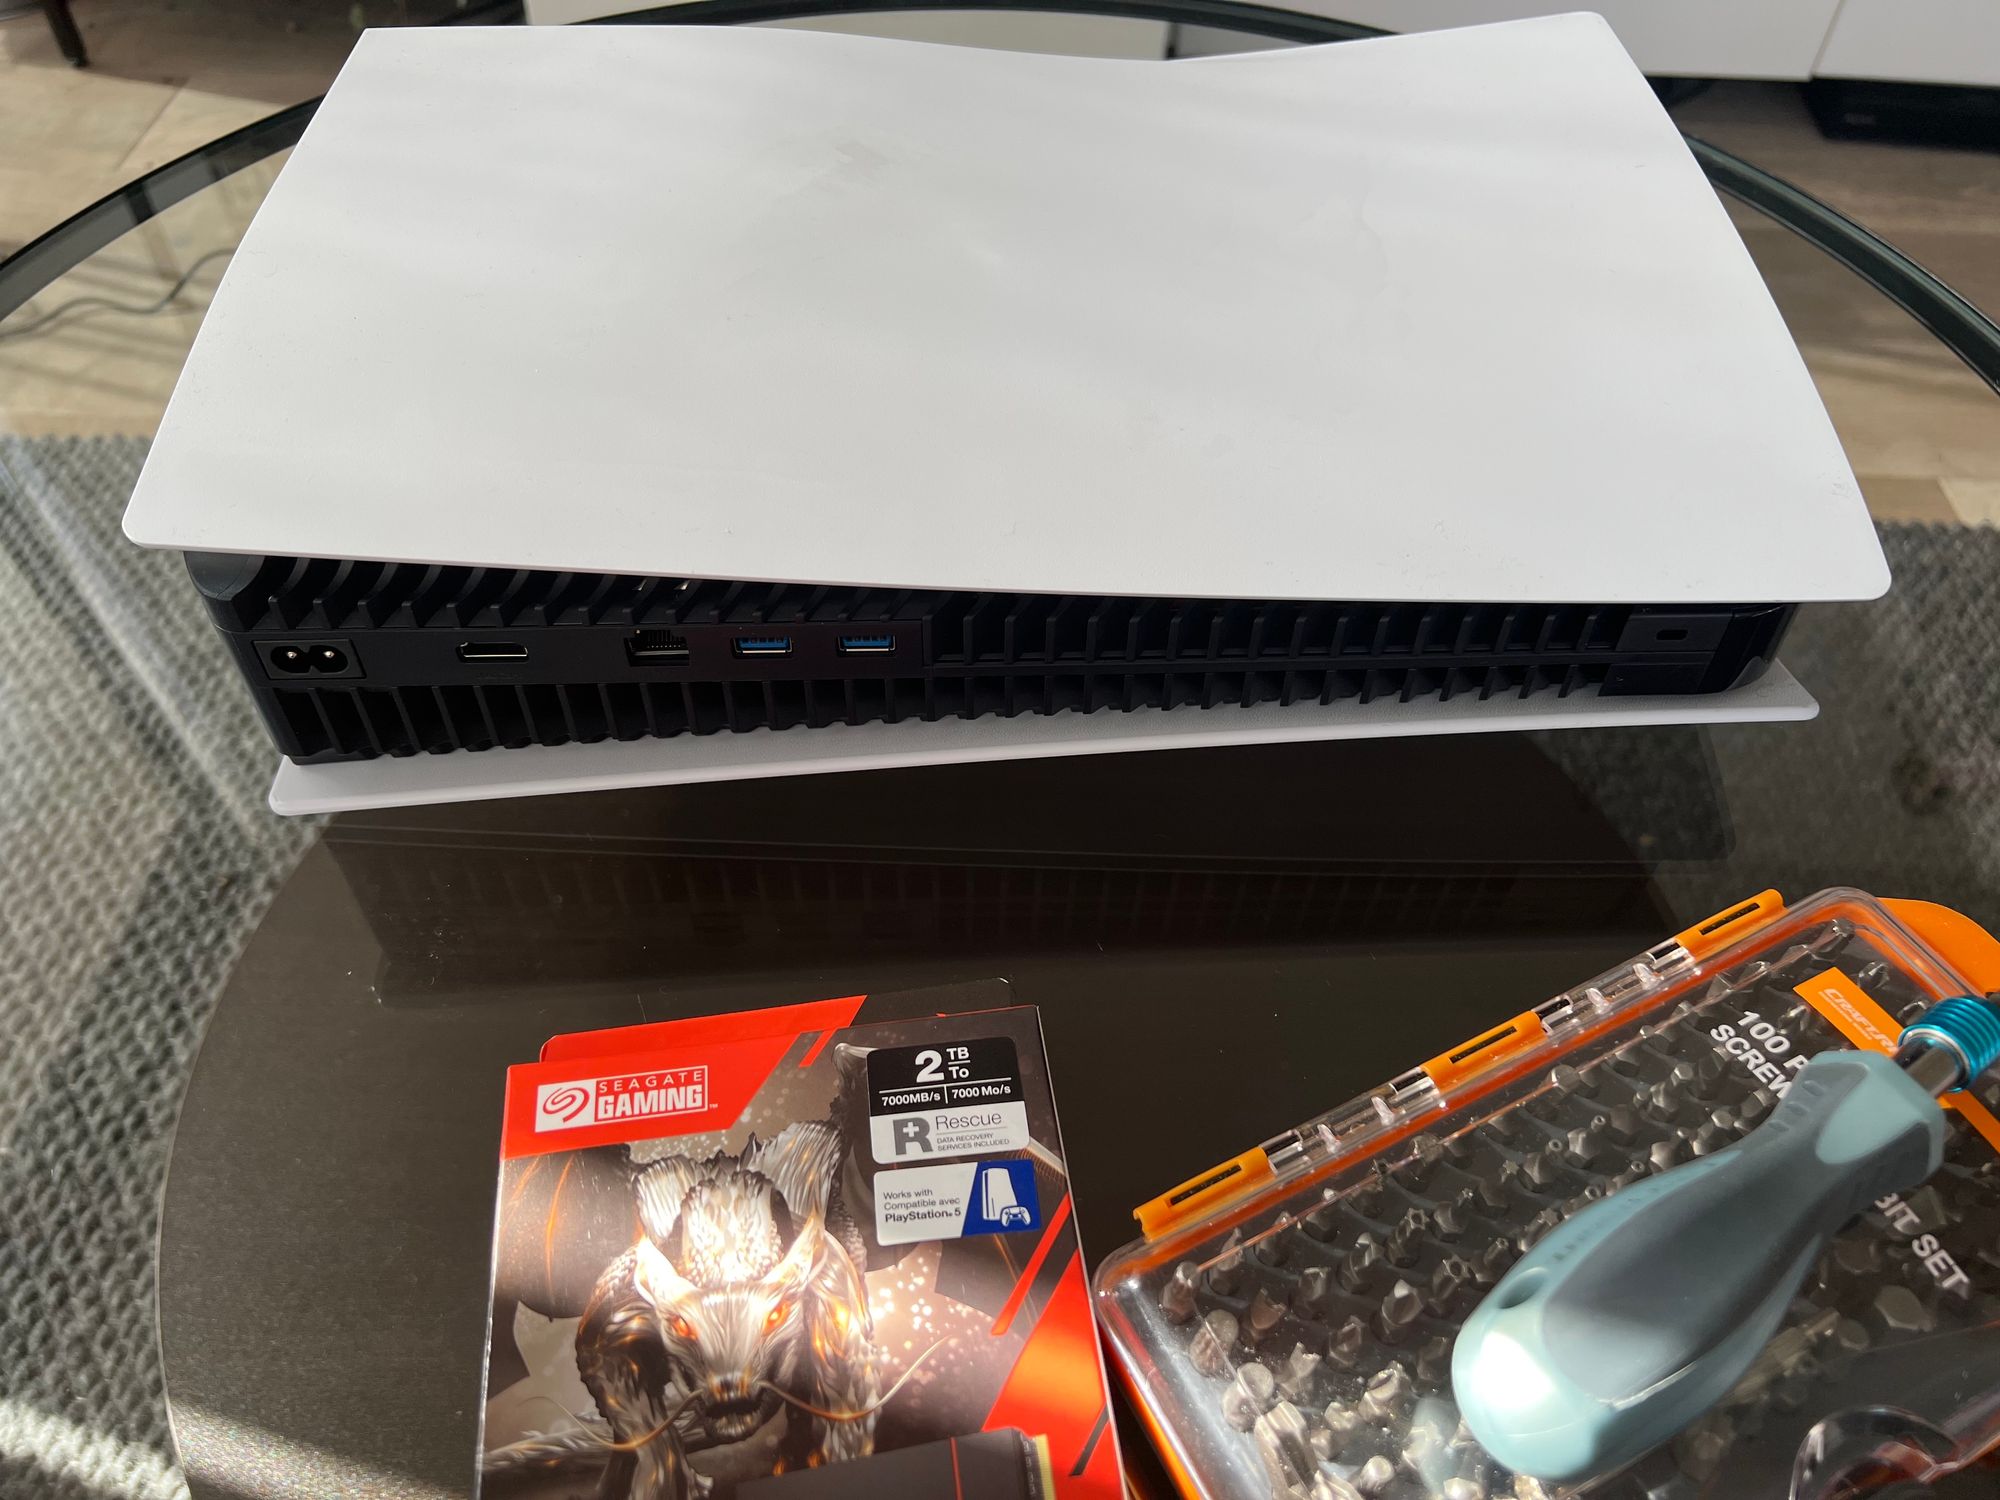
Turn the console upside down (so the PS logo is on the bottom and the disc drive is on top, if you have a disc model) then swivel it around so the disc drive and power button is facing away from you/the HDMI port is facing you.
Step Three
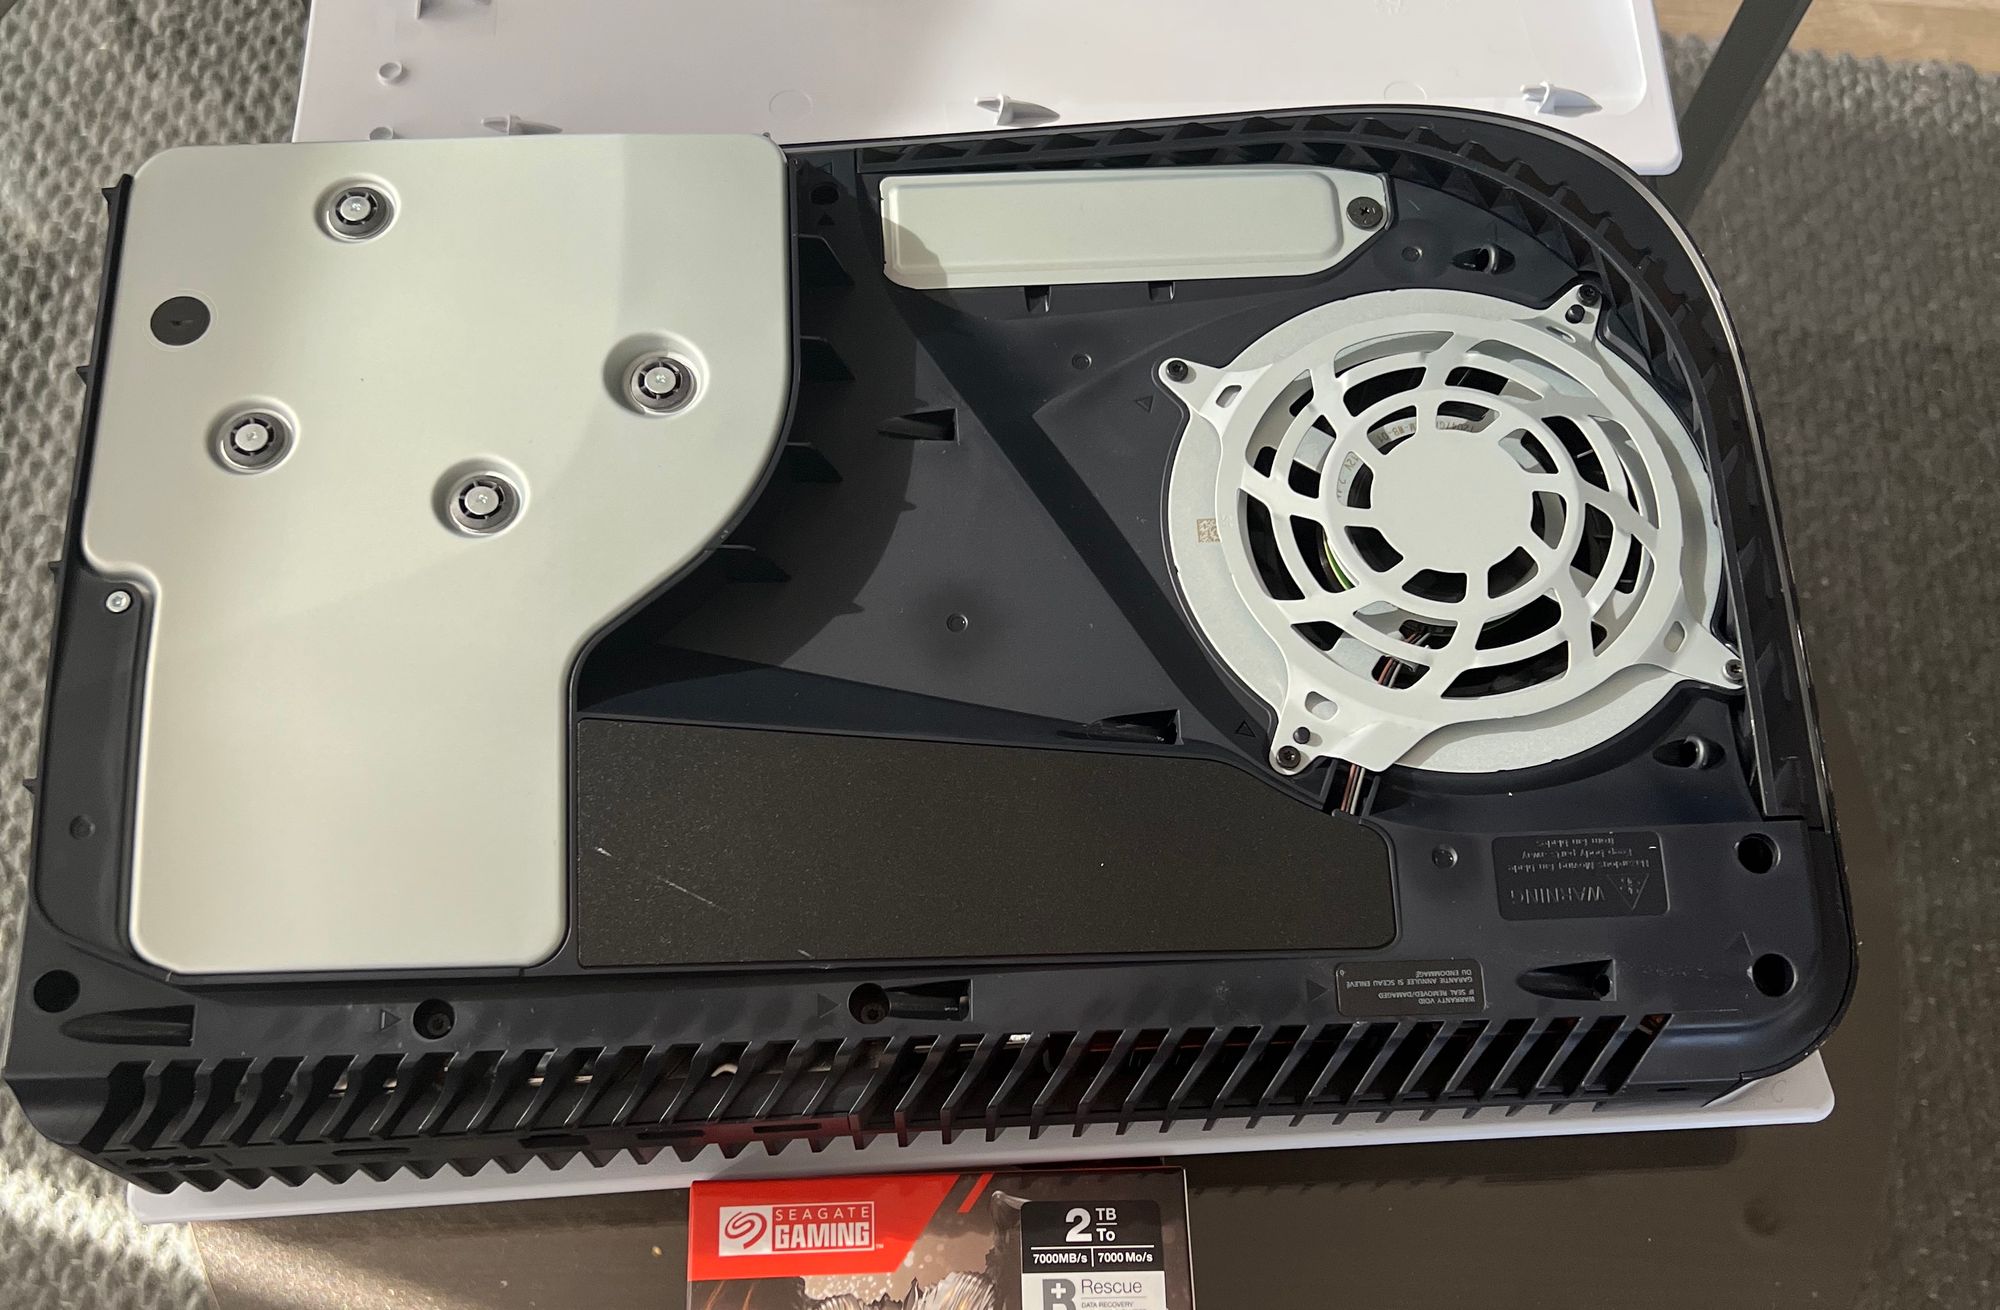
Remove the cover by gripping the bottom right-hand corner with your right hand and the top left corner with your left hand. Sony recommends gently lifting the cover with your right hand, but I found I needed to mauver it clockwise a bit to get it out, and it required a medium amount of force. Gentle won’t cut it, but don’t brute force it.
Sony also says you need to slide it off with your left thumb while using the finders of your left hand to stabilise the console. That didn’t work as well for me, but your thumb might be grippier.
Step Four
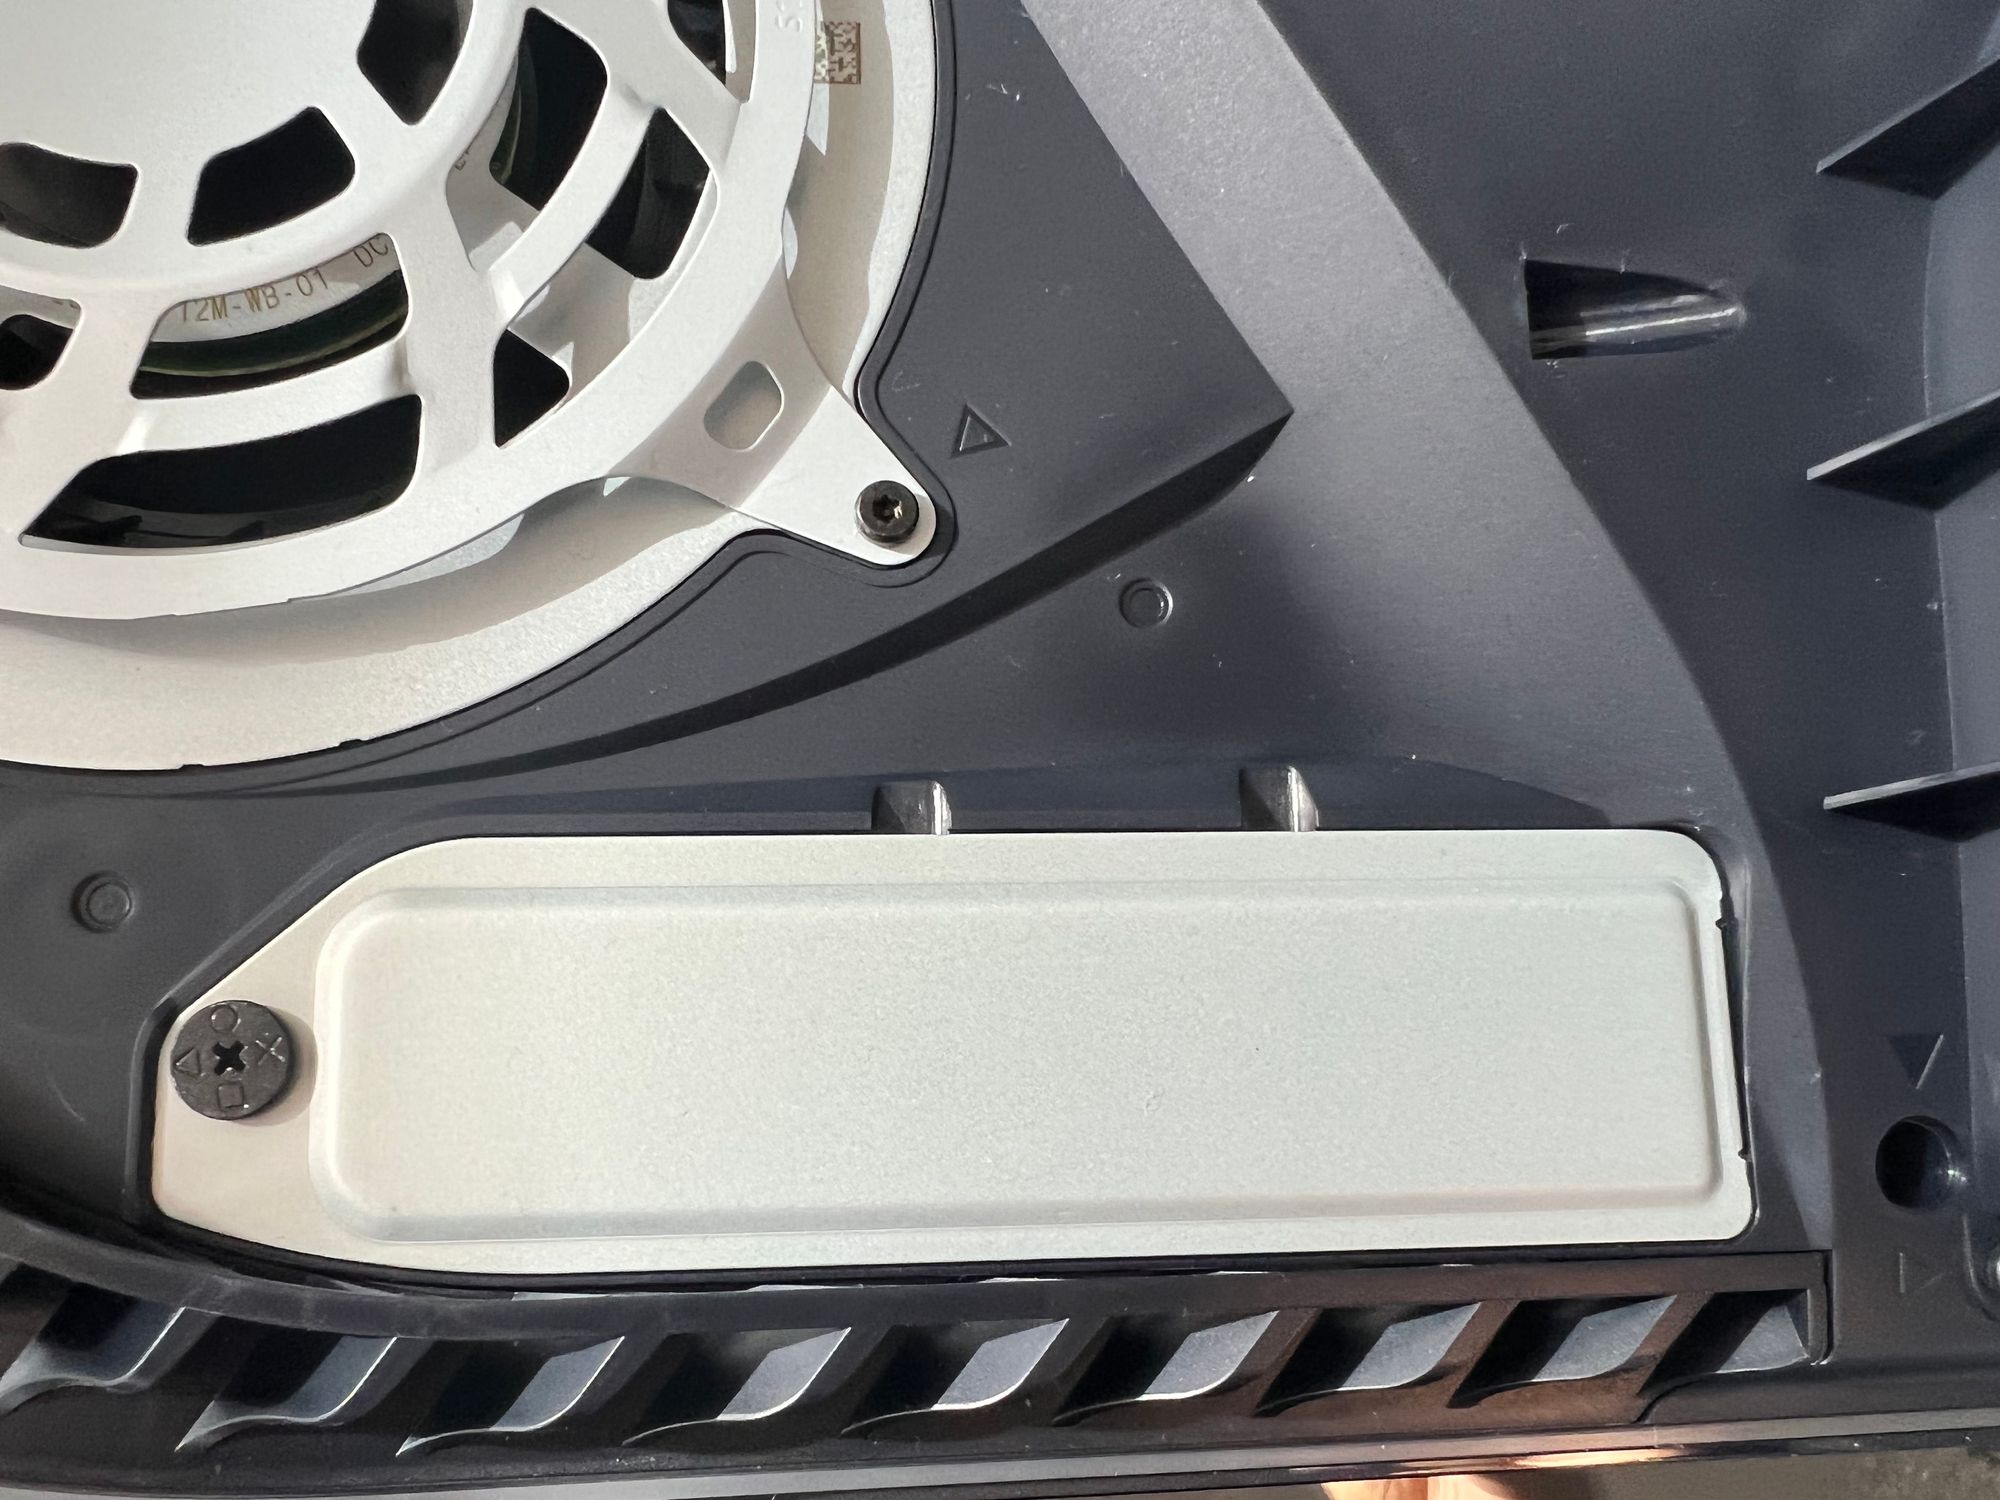
Once you’ve lifted off the cover, there will be a long silver metal bit slightly under the fan – that’s the cover of the expansion slot. You can’t miss it.
Swivel the PS5 so that bit is in front of you and use your screwdriver to remove the surprisingly long screw, taking a moment to appreciate that even the screw is branded. The screw in mine wasn’t done up too tightly, so it shouldn’t be difficult to remove. Then take out the metal cover.
Step Five

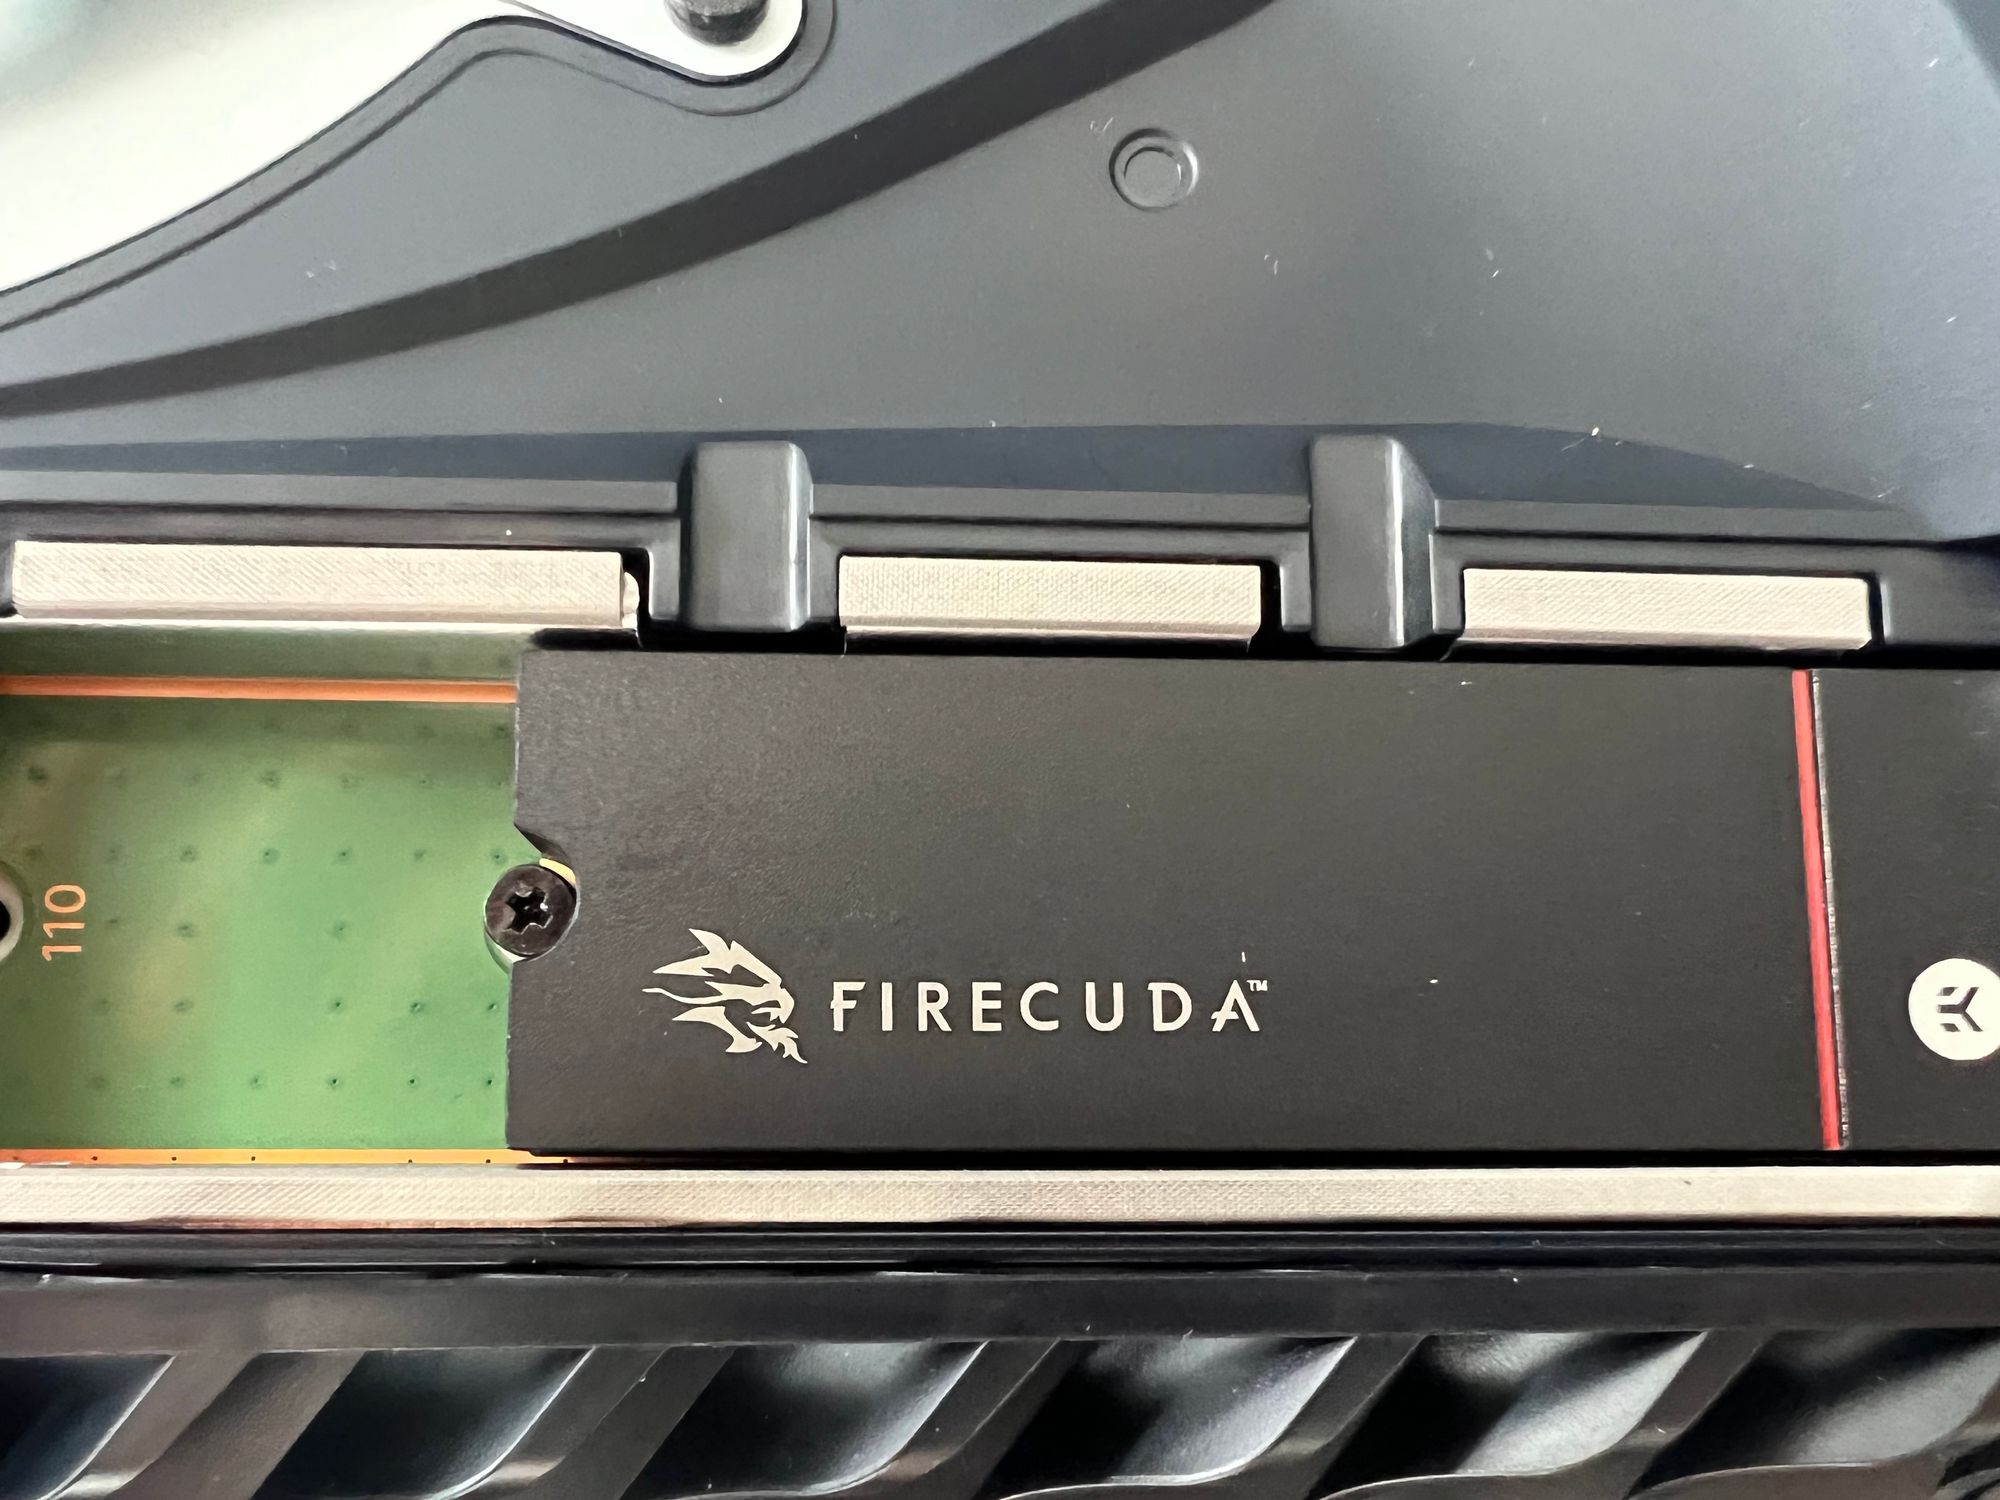
Remove the little screw and spacer to the left, and place the spacer into the slot that corresponds to the size of the drive you’re using.
I chose the Seagate Firecuda with heatsink because it has great read/write speeds, already has a heatsink installed, and is quite easy to find in stores (though Seagate did send me mine, thanks Seagate). The Firecuda needs the spacer on the 80 hole, but if you’re using a different drive, it might have a different size.
Step Six
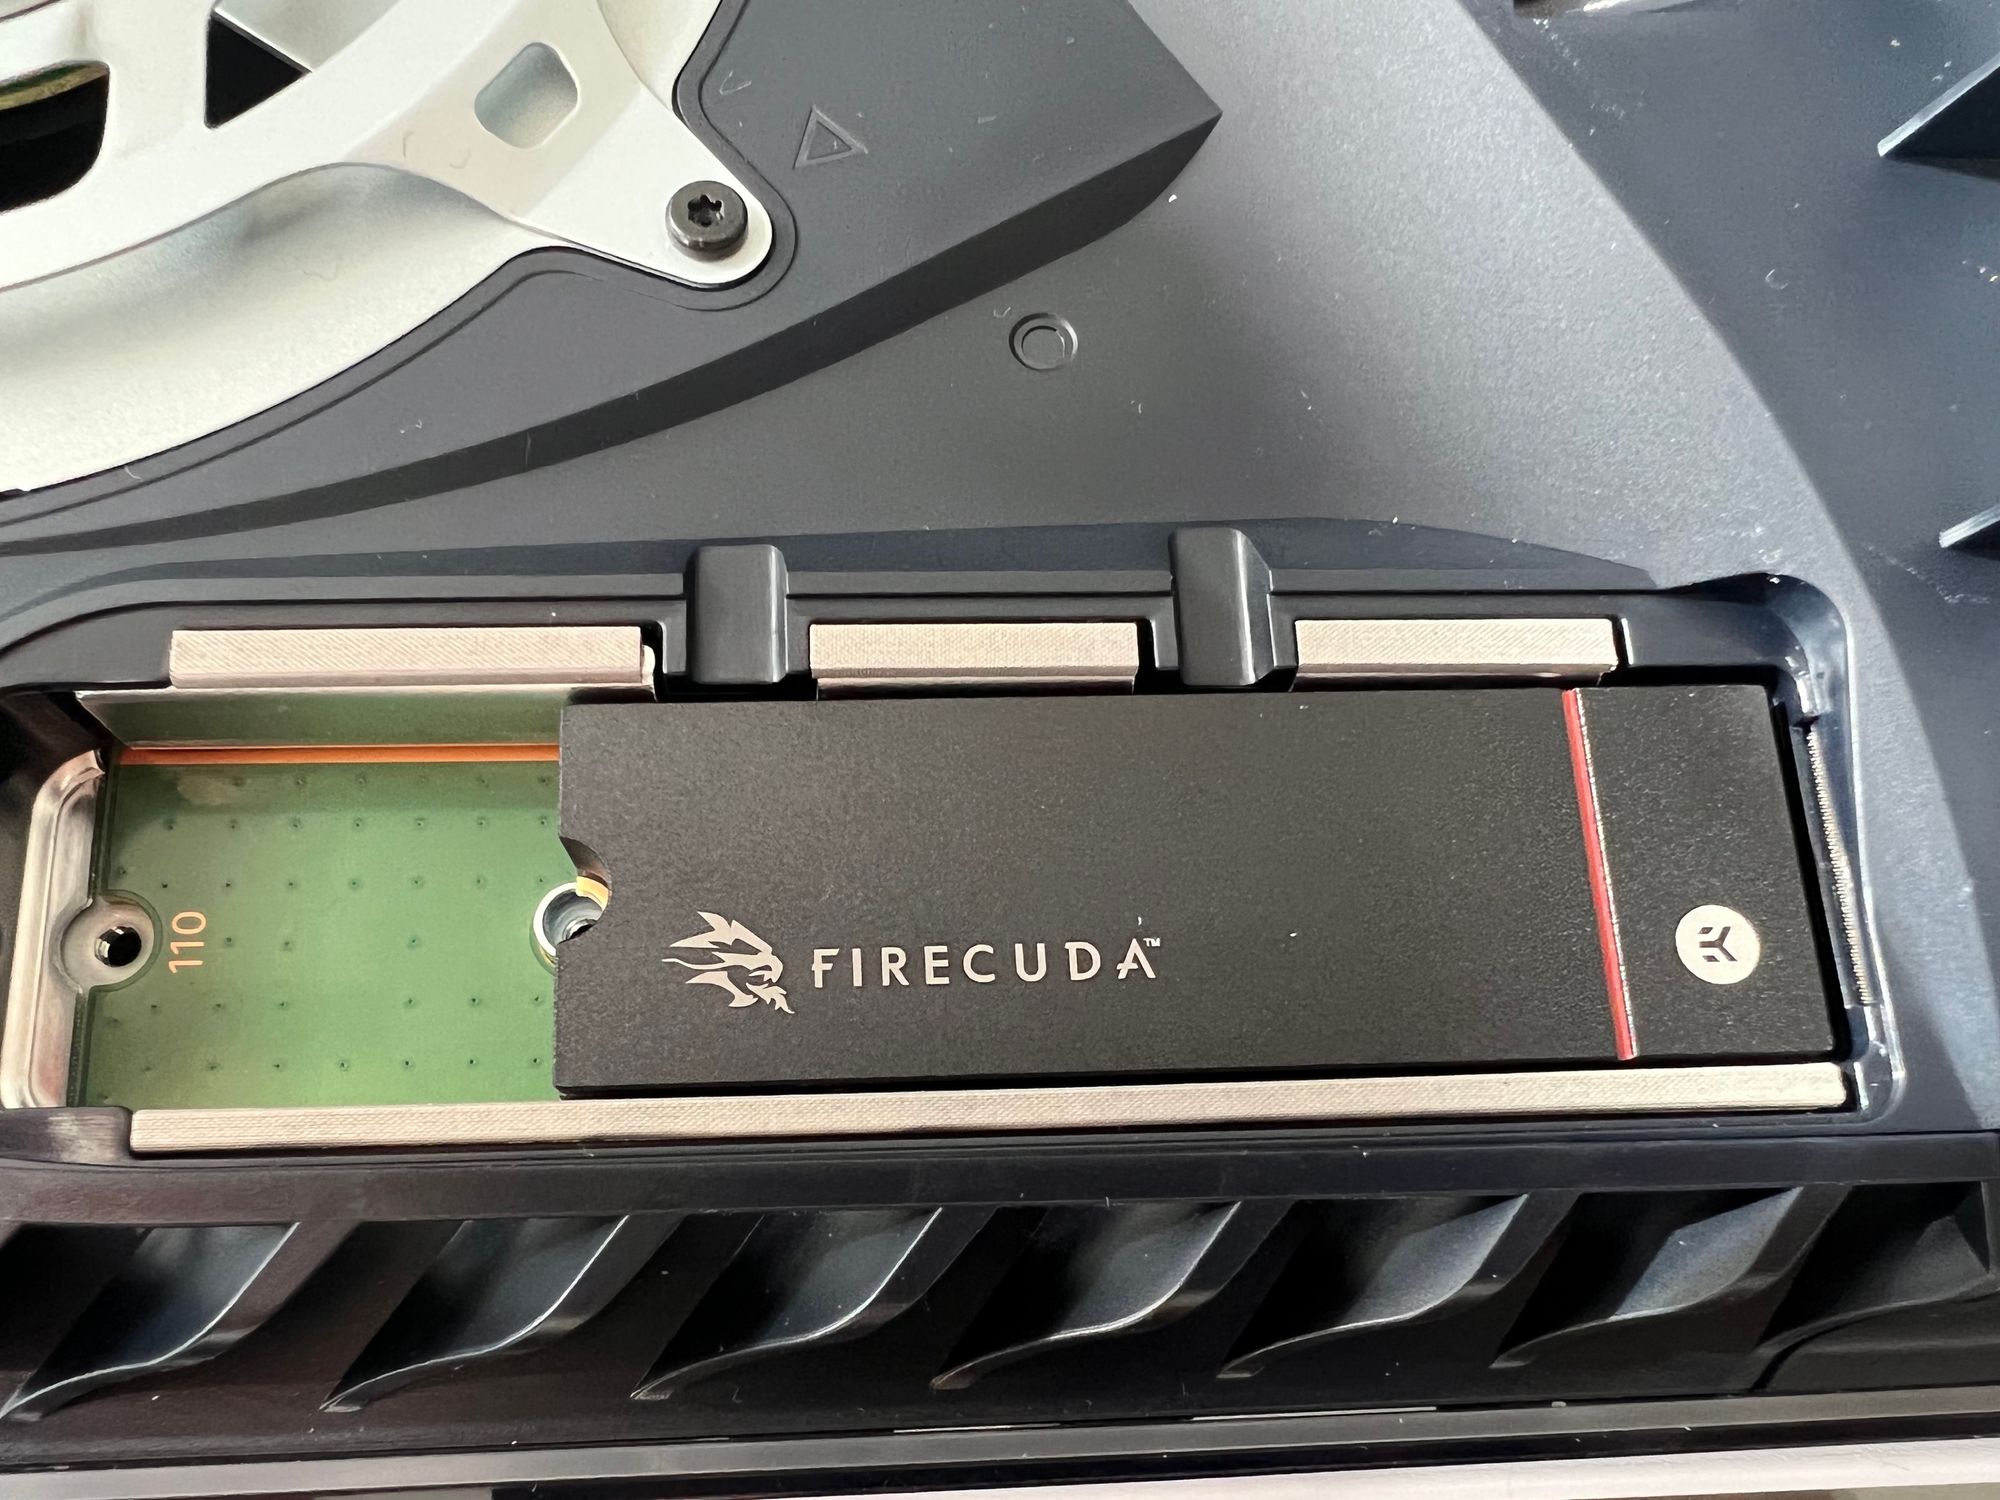
While holding the edges of your drive, carefully align it with the connector on the right-hand side of the slot and plug it in. This might take a couple of goes to line up properly, so be relatively gentle. It helps to go in at a diagonal angle.
You’ll know it’s in right when the notch at the bottom lines up with the spacer you just placed.
Step Seven
Once you’re sure the drive is plugged in correctly and sitting well on the spacer, screw the tiny screw back into the spacer to hold the drive in place.
Step Eight
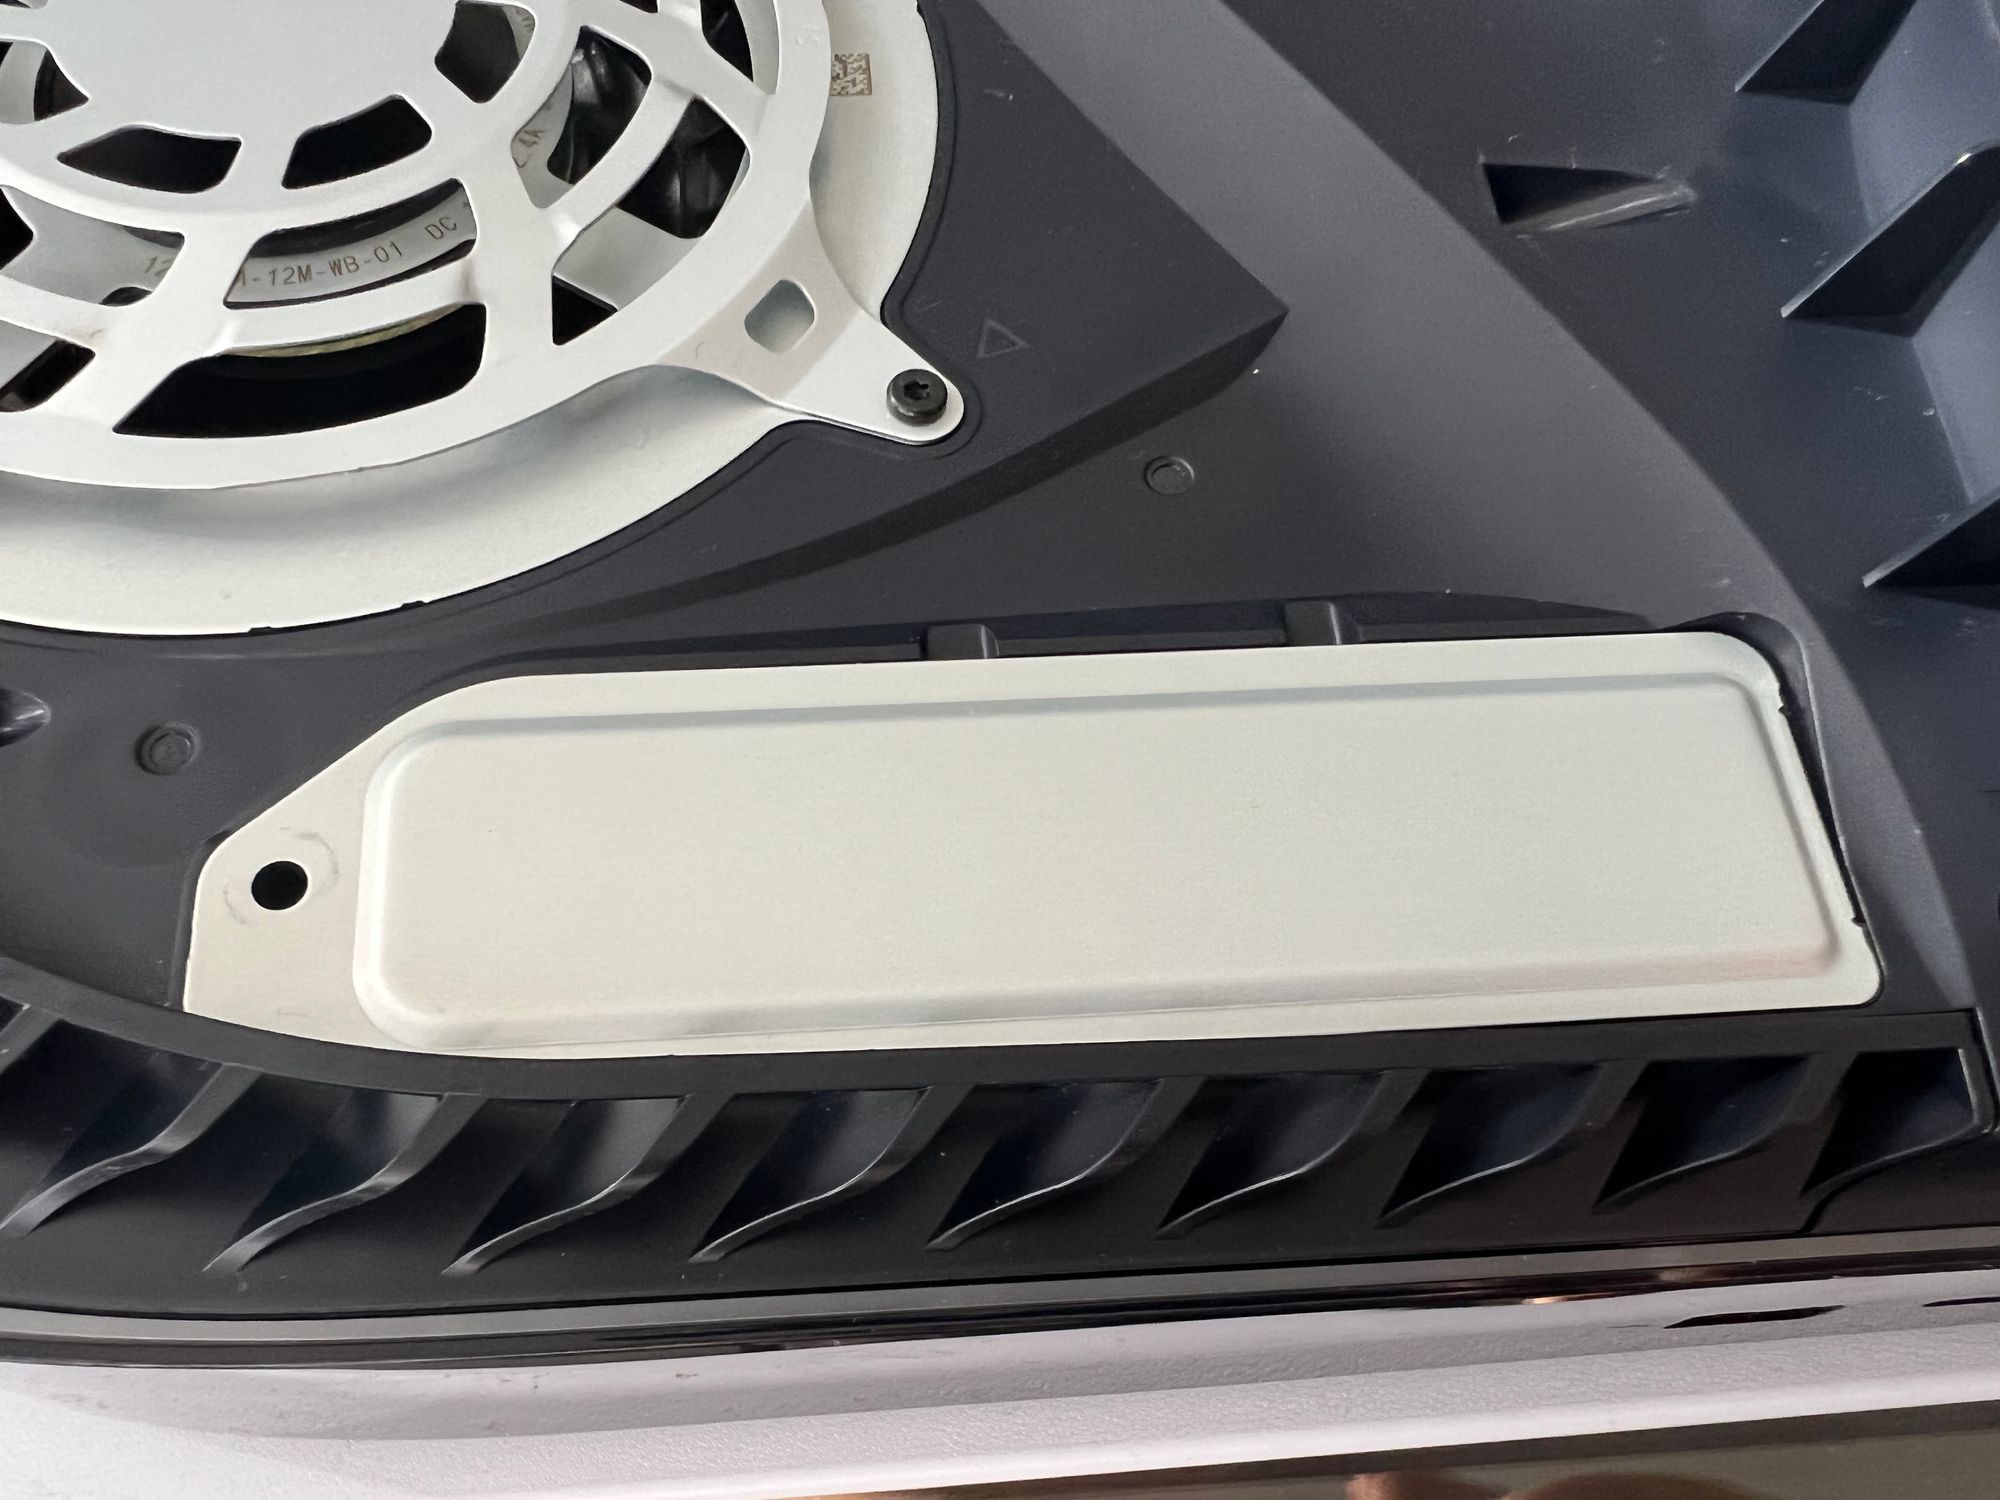
Put the expansion slot cover back on and screw it back in, double checking that it all fits in neatly. If you installed a DIY heatsink, this is the part where you find out whether you did it right and it all fits properly.
Step Nine
Put the PlayStation 5 cover back on. This time it’s more of a ‘right to left’ sliding motion requiring a similar level of force as removing it. Might take a couple of goes to line it up correctly.
Step Ten
Put the PS5 back to where it usually lives, plug everything back in and then boot it up.
Step Eleven
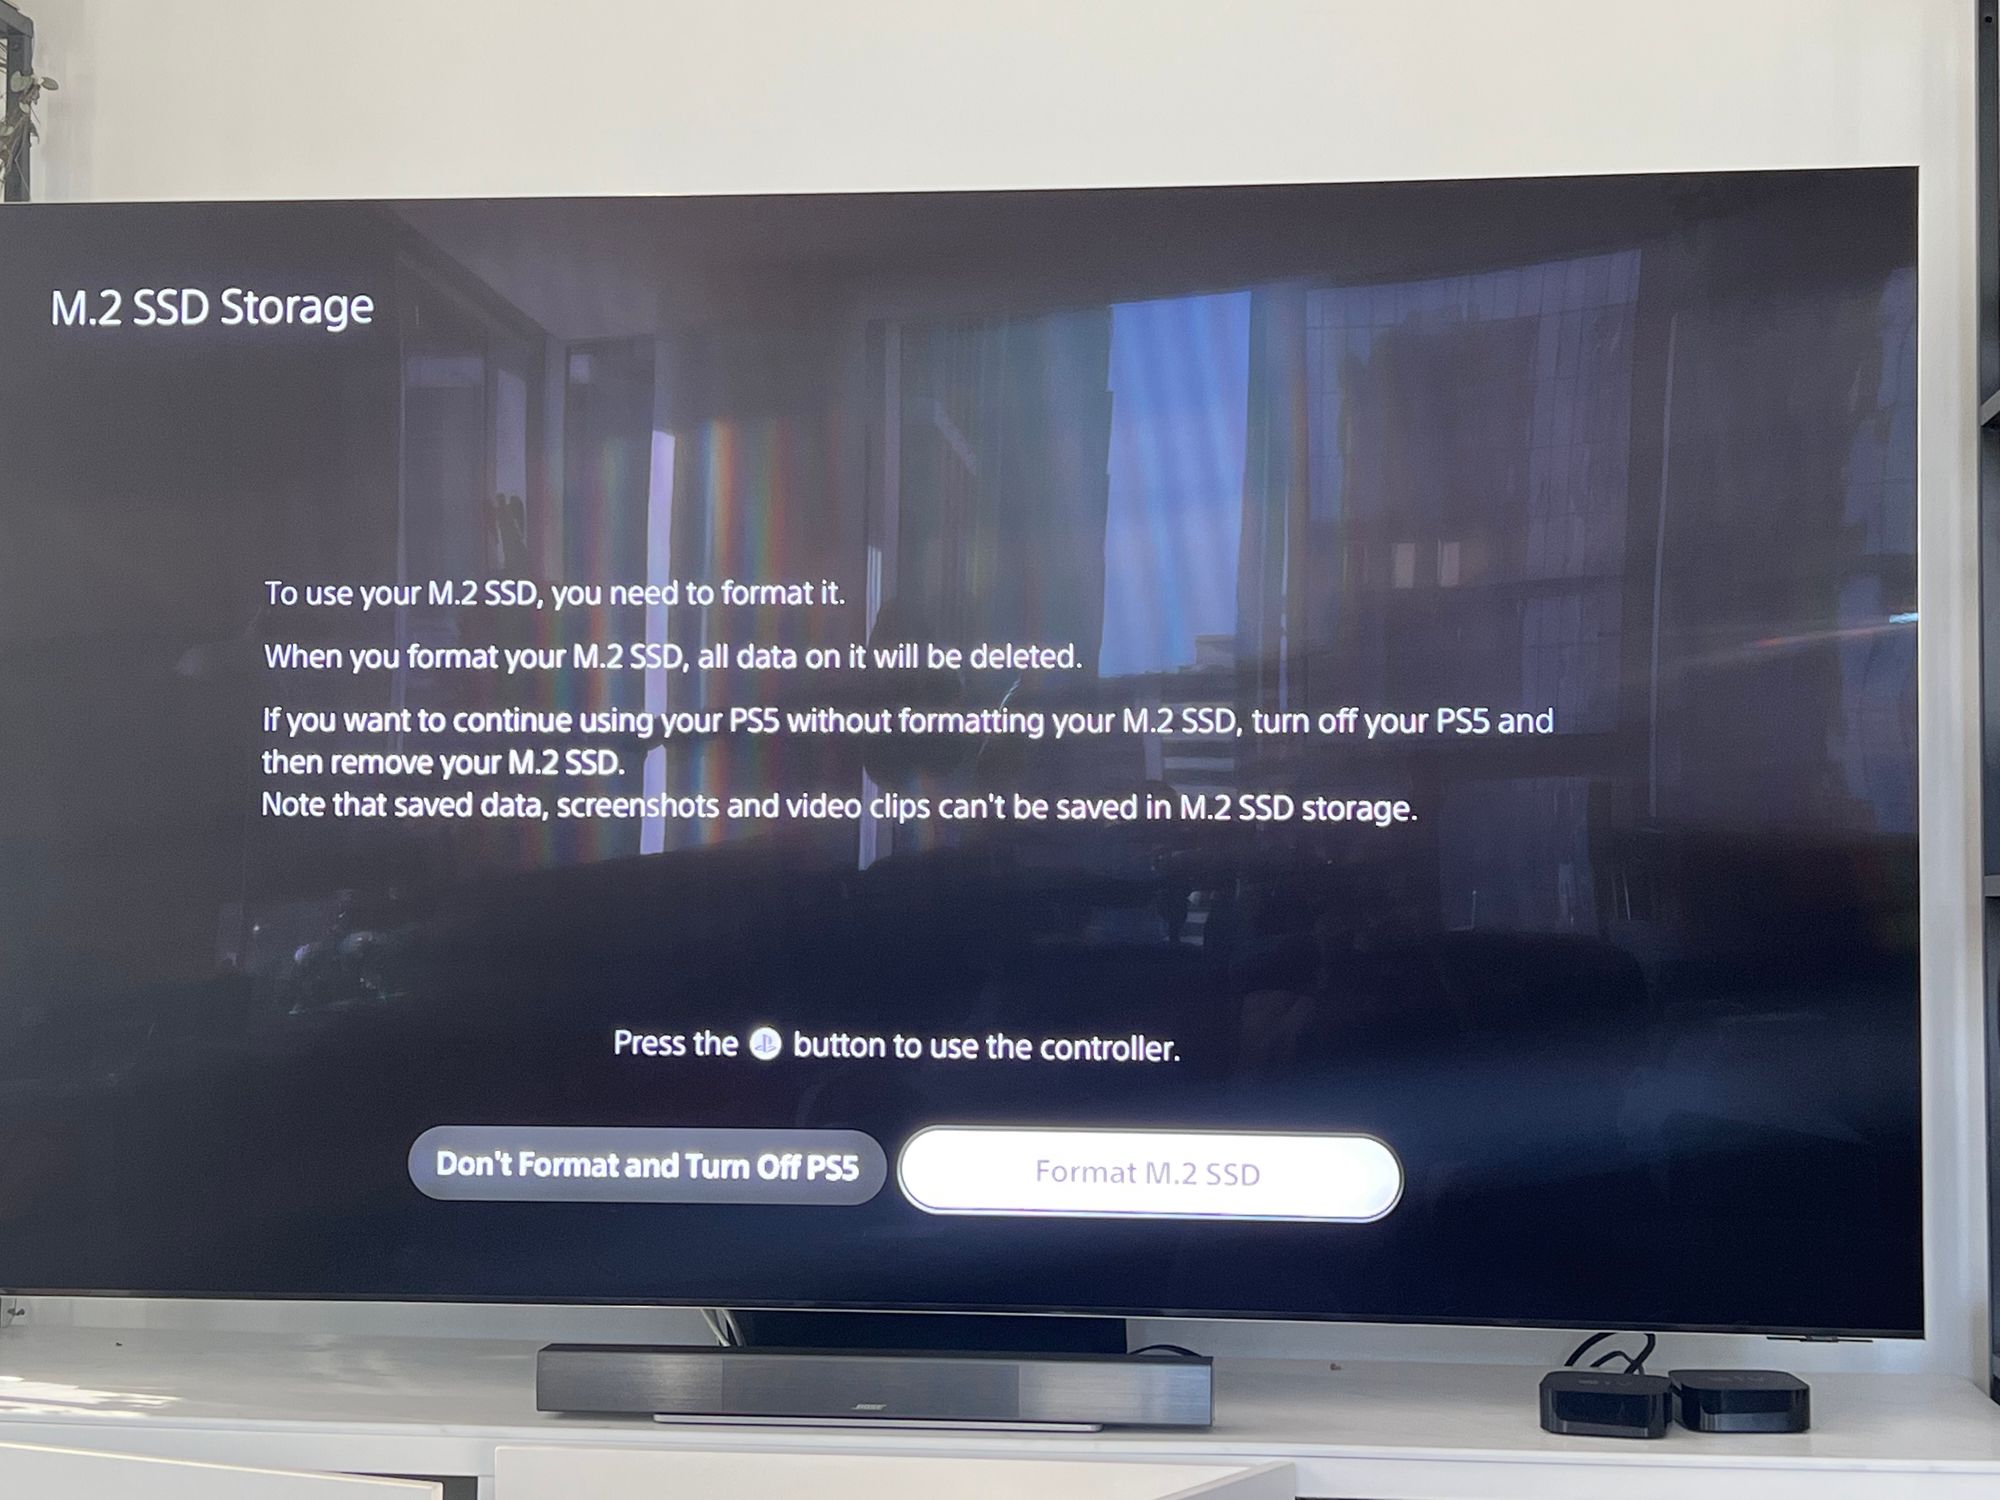
After it boots up it should ask you to format the drive (if it’s the first time you’ve installed it). If it’s your first time using this drive in a PS5 and it doesn’t ask you to format it, you may have installed it incorrectly.
Step Twelve
Enjoy!
Sony has also made this handy video to help: https://www.youtube.com/watch?v=b1vF42QfmTk
It sounds hard, and there are a lot of steps, but it's actually pretty easy, and it's not something you're likely to need to do often.
Add storage to Xbox Series X | S
Like PlayStation, Xbox also has a handy way to expand your storage. Unlike PlayStation, there aren’t a lot of drive options, but you won’t need a screwdriver.
What you’ll need
- A table, maybe. You could probably just do this while the console is in the cabinet
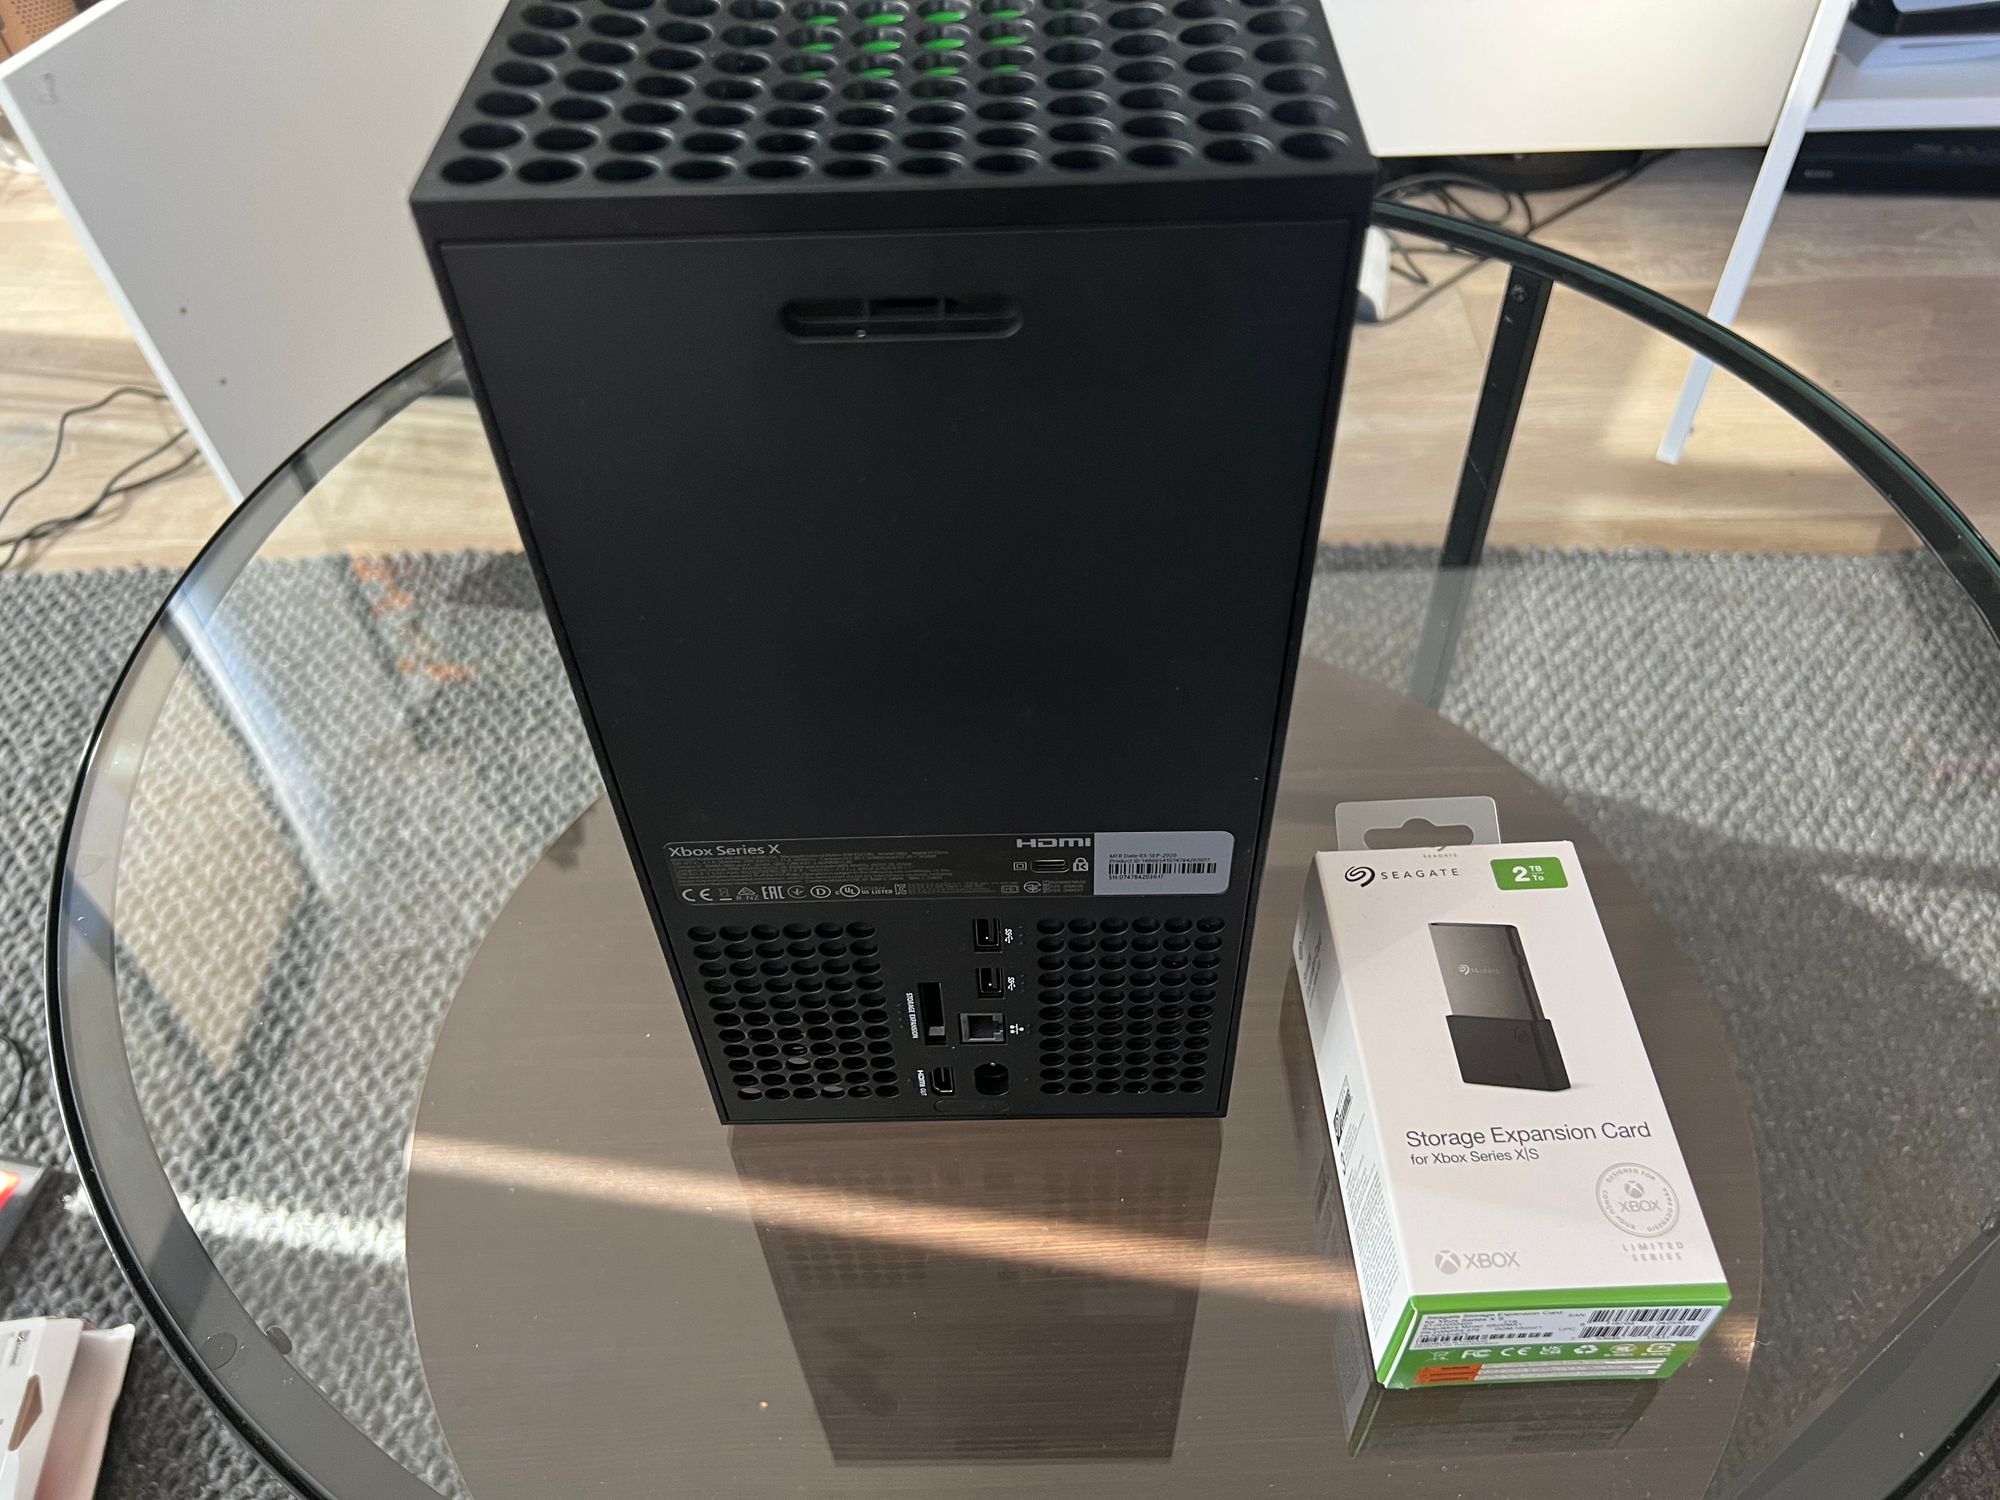
- A Seagate Xbox Series X | S expansion card. These come in three sizes: 512GB ($189), 1TB ($349) and 2TB ($719).
Here’s how you do it.
Step One
Turn the Xbox Series X|S off fully.
Step Two
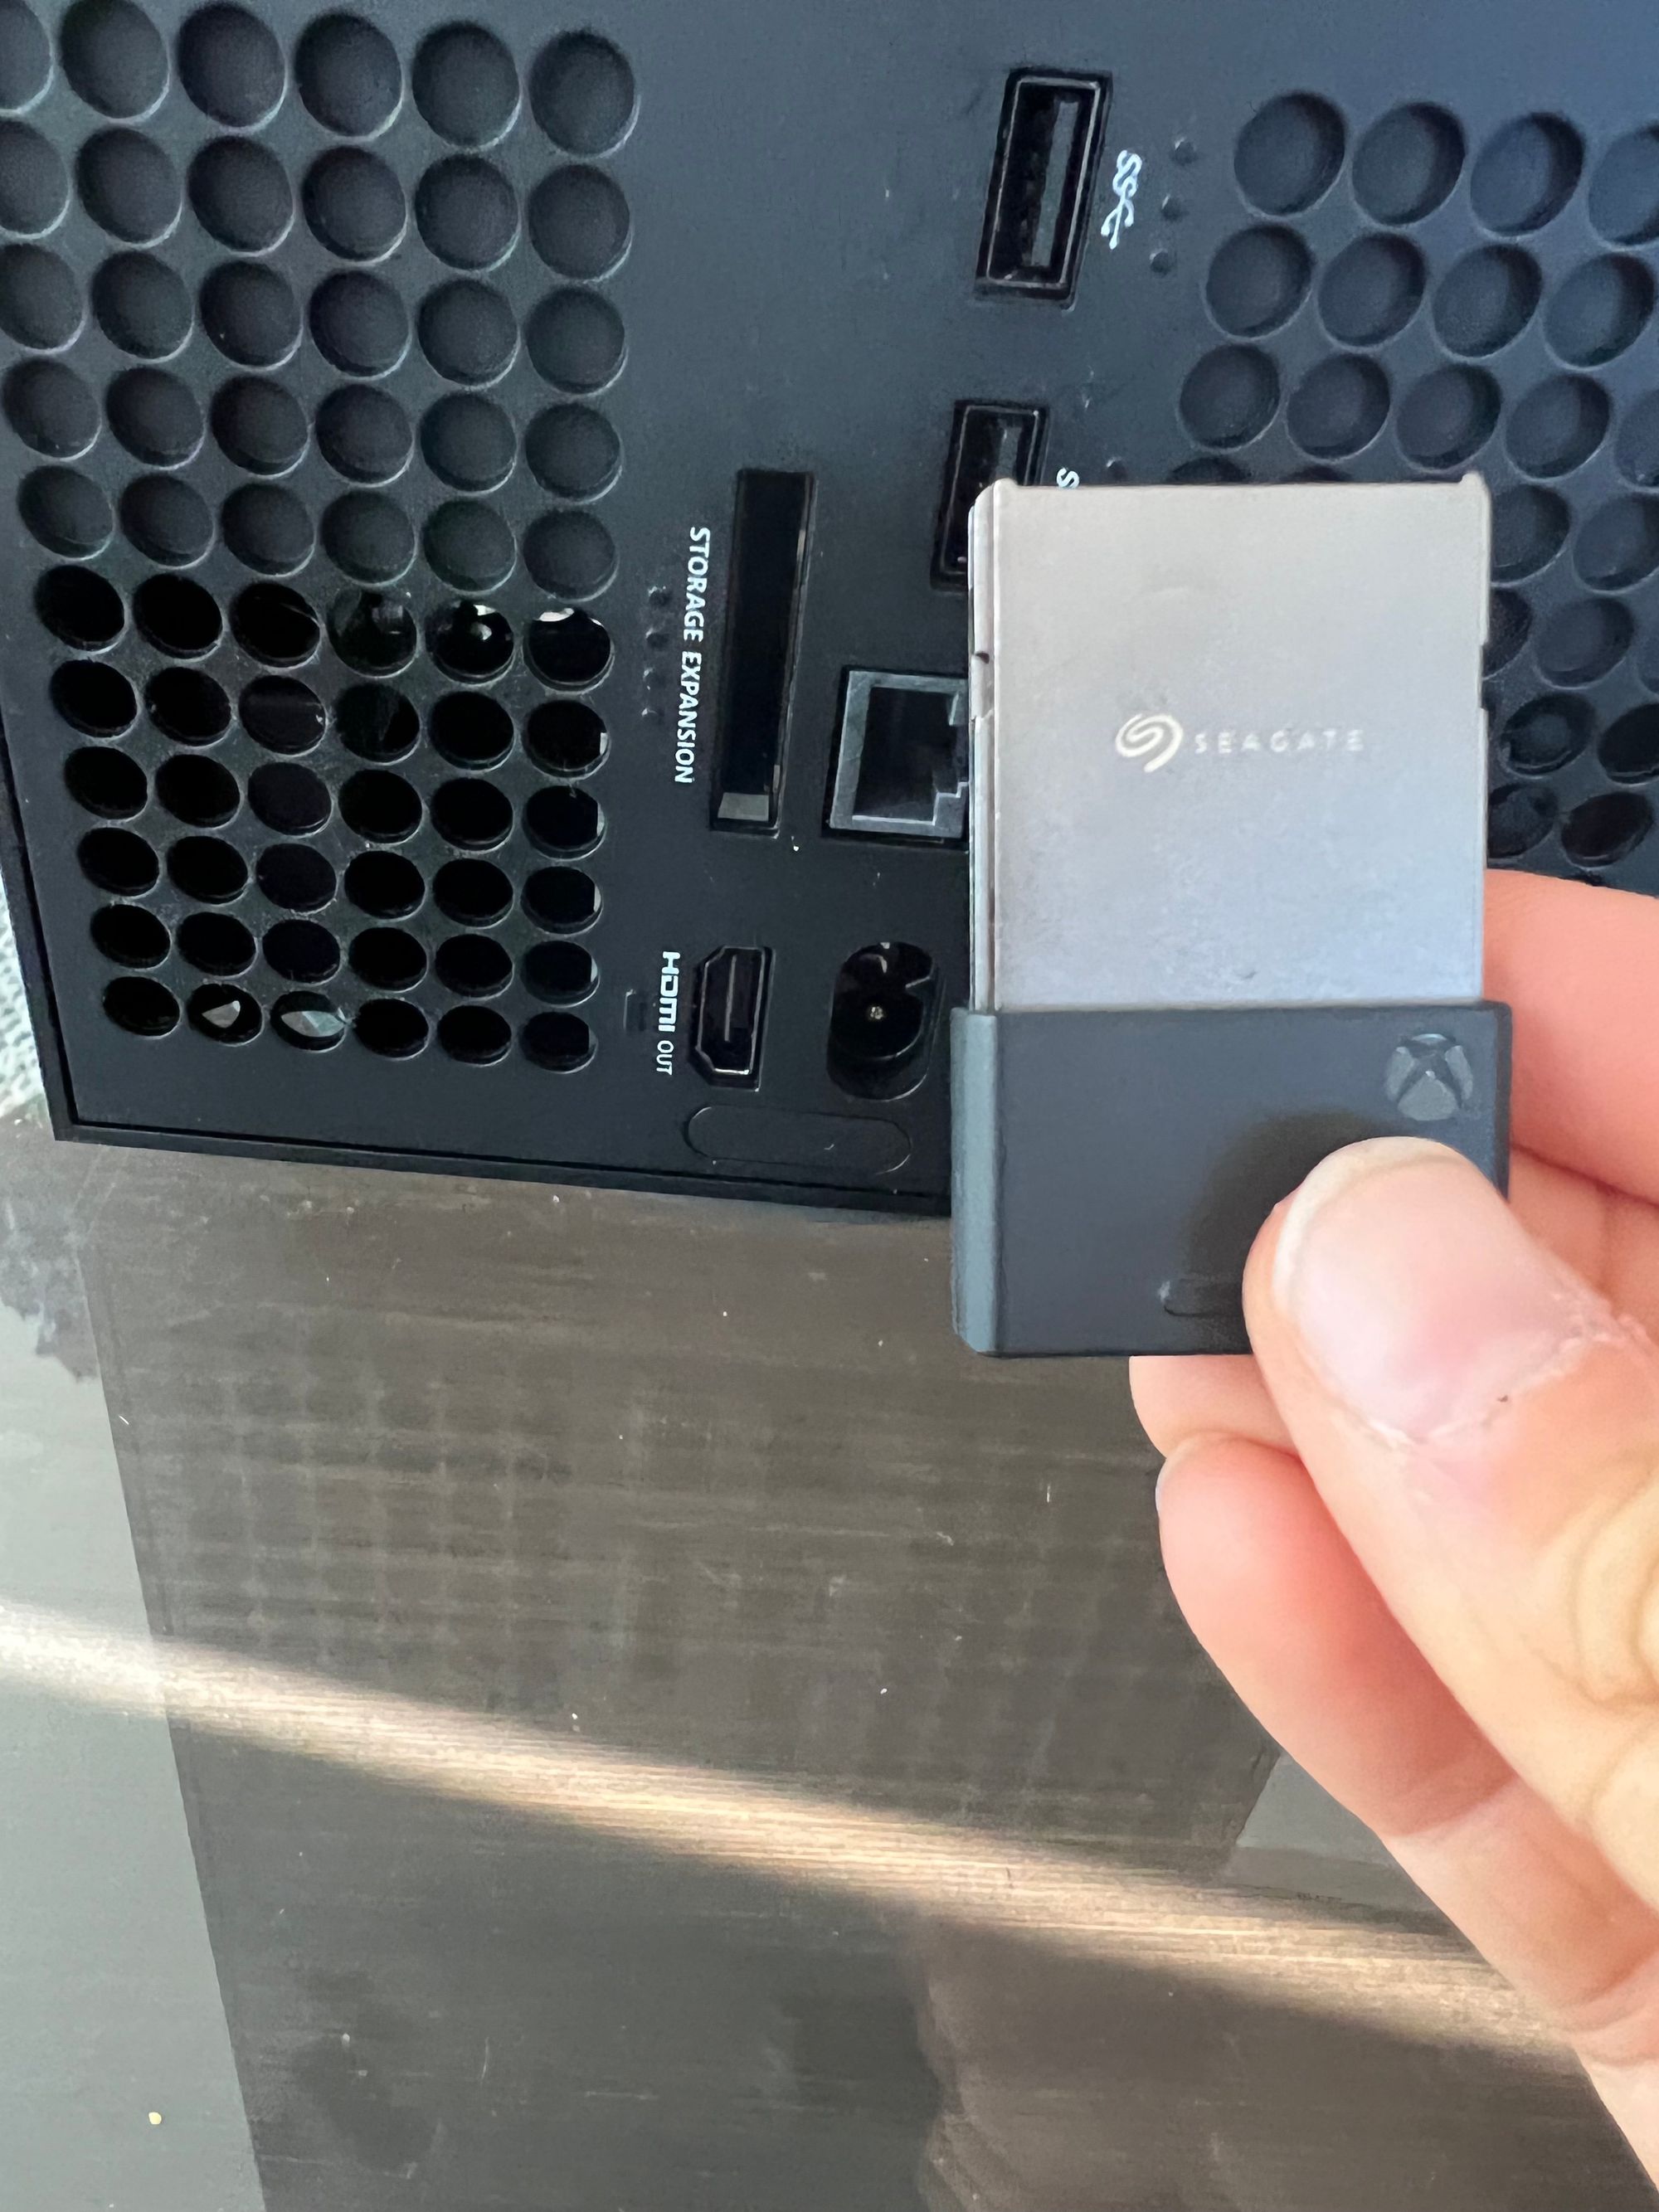
Turn the Xbox around so you can see the ports at the back.
Step Three
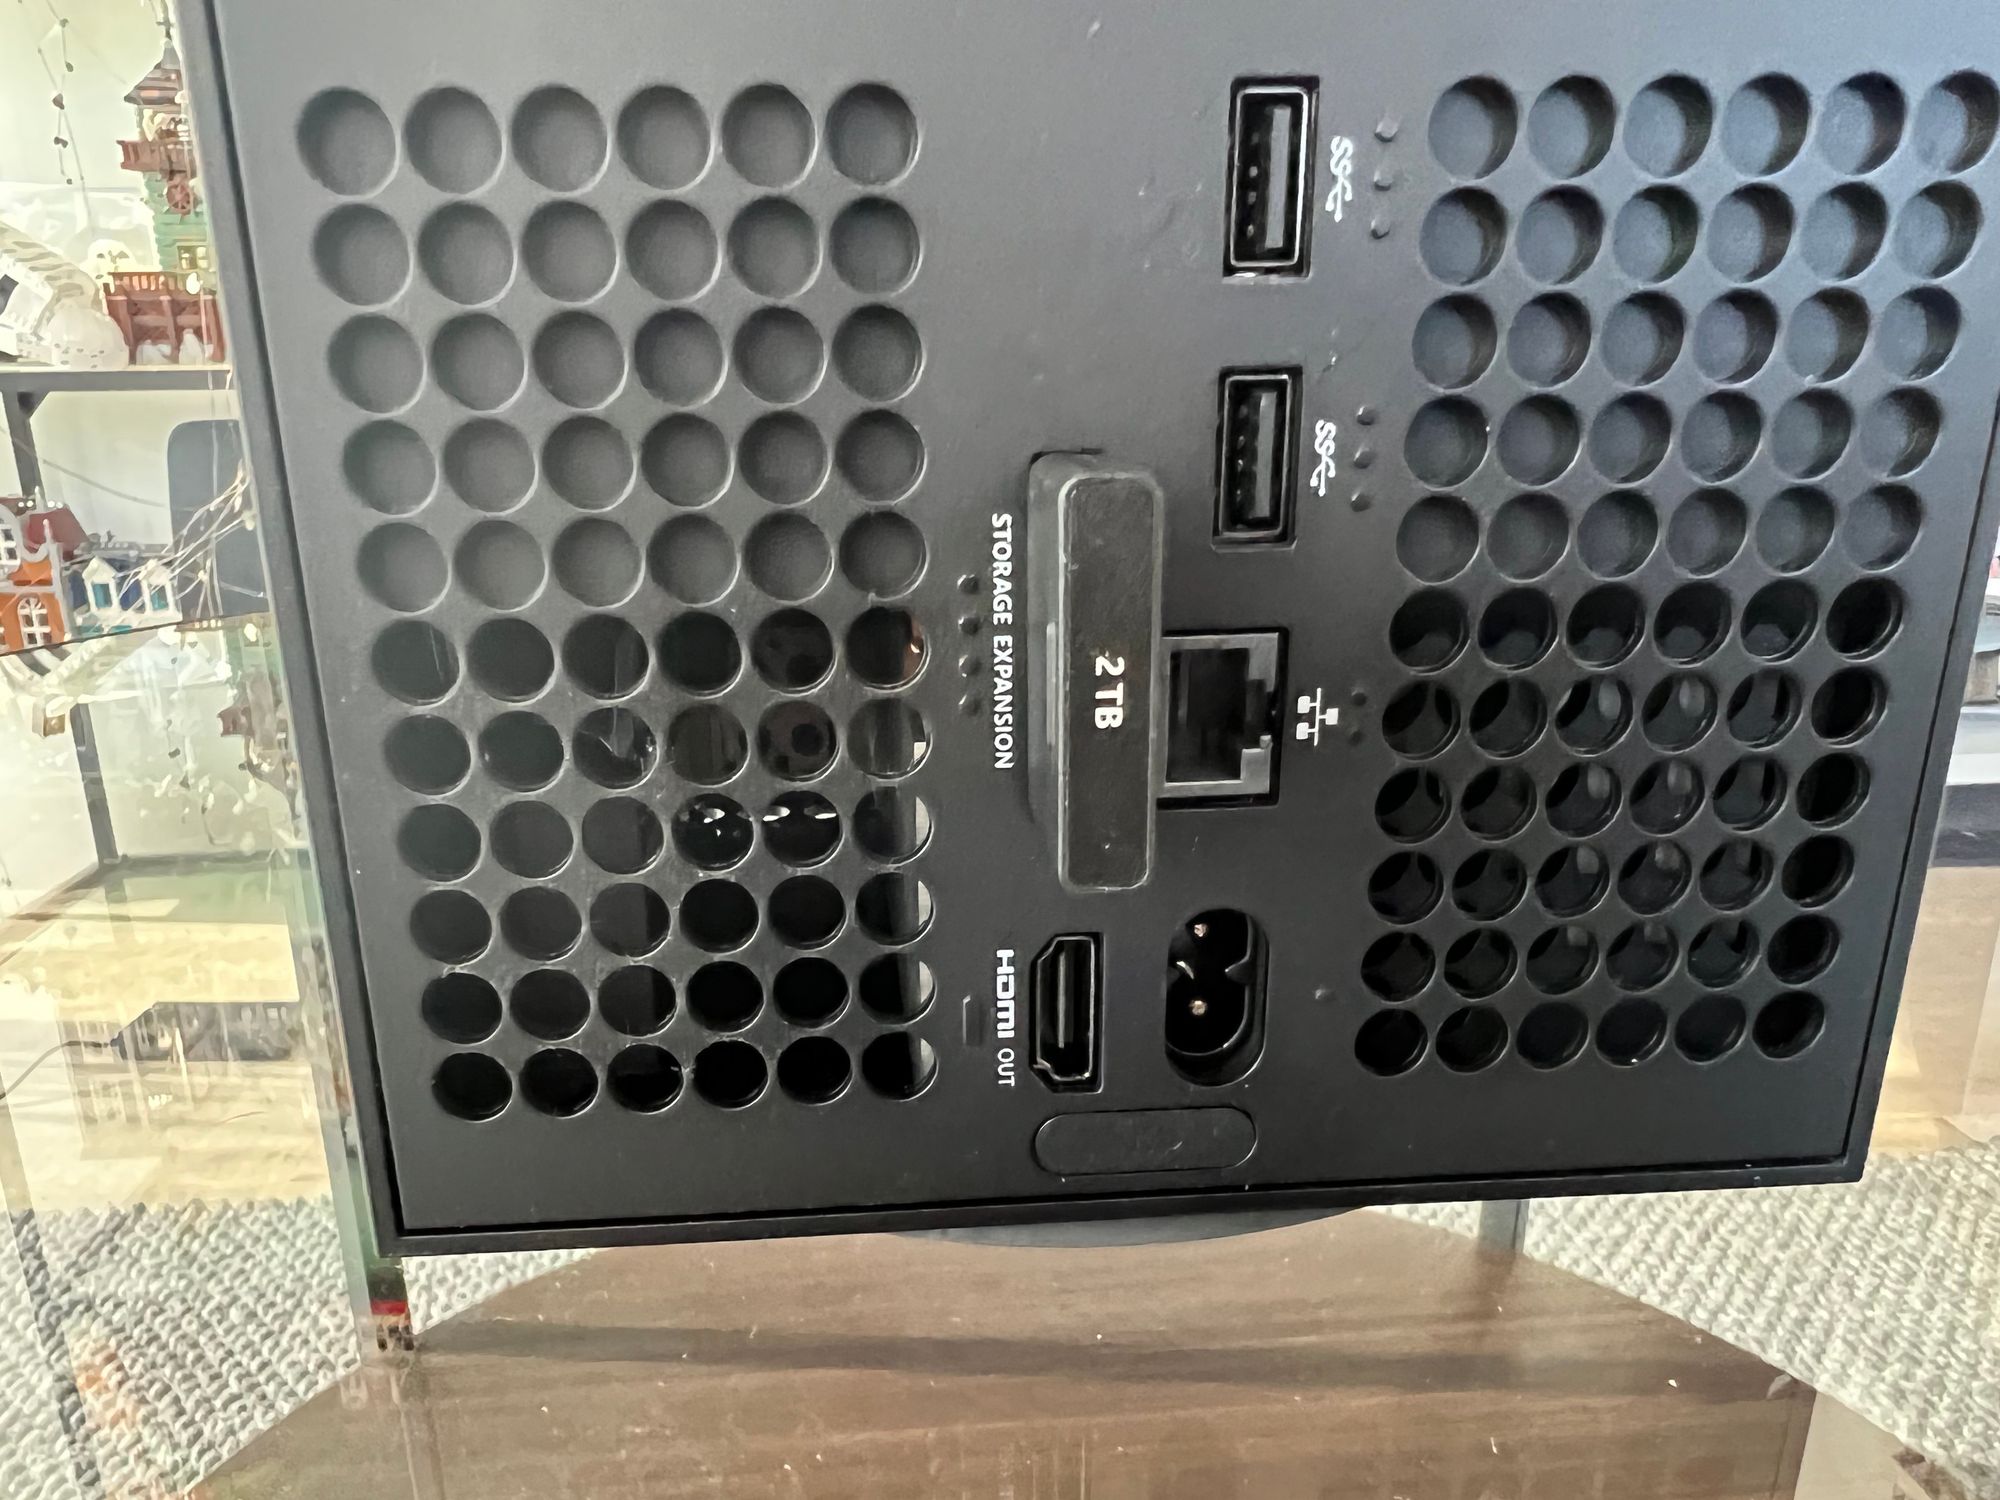
Plug expansion card fully into the expansion card slot.
Step Four
Enjoy.
If you’re just wanting to run Xbox One games or older from the external drive, you could also use an external SSD with USB3 to expand further, for fewer dollars.
And that’s everything. Good luck with the installation, and happy gaming.